
A sheeter is a convenience, not a requirement. Hand lamination asks for cool butter, a dough with enough strength to stretch, and the patience to stop rolling before the butter warms. The goal is simple: keep butter and dough as separate, alternating layers for as long as possible. When those layers hit the oven, the water in the butter turns to steam and lifts the pastry. Do that well, and a rolling pin will take you as far as any machine.
What follows is a working method for croissants, rough puff, and any dough that should shatter when you bite it. It needs no special equipment beyond a pin, a bench scraper if you own one, a pastry brush, and space in the refrigerator.
Temperature Is the Whole Game
Before technique, before flour choice, before the number of turns, there is temperature. Lamination fails most often because the butter got too warm, not because the baker lacked skill.
Aim for butter that is pliable but still cool — roughly 60°F to 65°F (15°C to 18°C). At that temperature it bends without cracking and holds its shape under pressure. Colder and it shatters into shards that tear the dough. Warmer and it smears into the dough, which destroys the separation you are trying to build.
The dough should feel cool to the touch, not cold and stiff. A fridge-cold dough cracks when you roll it; a room-temperature dough stretches like taffy and loses tension. Let a chilled dough sit on the bench for five to ten minutes before rolling, and work in a kitchen that is not hot. If your kitchen is warm, chill your bench scraper, your rolling pin, and even the counter itself with a cold, damp towel.
If the butter is soft enough to smear, it is soft enough to disappear into the dough — and with it, every layer you have built.
Make a Butter Block That Bends, Not Breaks
Start by beating cold butter between two sheets of parchment until it forms a flat, even rectangle. Even thickness matters more than exact size. A block that is two centimeters thick on one edge and half a centimeter on the other will roll into uneven layers, and thin spots are where the butter breaks through first.
Use high-fat European-style butter if you can. It has less water and more fat, so it stays plastic over a wider temperature range and gives a cleaner lift. Standard butter works fine — it simply leaves less margin for error.
Chill the block until firm, then let it temper slightly before locking it in. It should feel like a cold block of clay: firm enough to resist your thumb, soft enough to give slightly.
Lock In the Butter
Roll your dough into a rectangle roughly twice as long as the butter block and slightly wider. Place the butter on the lower half, fold the top half over it like a book, and press the edges firmly to seal. You are creating an envelope. Any open seam is an escape route for butter during the first roll.
Press down gently across the whole packet with the pin before you roll. This "tapping" stage distributes the butter without stretching the dough, and it is the single most useful trick borrowed from professional bakers. Tap, do not press hard. Then check that the corners of the butter reach the corners of the dough — square corners make square layers, and square layers roll evenly.
Rolling: Short Strokes and Even Pressure
- Roll from the center outward, never back and forth over the same spot.
- Use light, even pressure and let the pin do the work; leaning on it shears the layers.
- Lift and turn the dough a quarter turn every few passes so it does not stick or stretch unevenly.
- Dust with flour sparingly and brush off the excess — too much flour between layers creates dry, dusty seams.
- Stop before the dough fights back. If it springs back or resists, it needs a rest, not more force.
Keep the thickness consistent as you go. A rolling pin with no handles gives you more feel than a heavy handled pin, though either works. What matters is that the butter and dough stay stacked, not stirred together.
The Turns: How Many and Which Kind
Single turns
A single turn means folding the dough in thirds, like a business letter. Three single turns give you 27 layers of butter. This is the most forgiving option for hand lamination because each turn is gentle and easy to keep even.
Double turns
A double turn means folding both ends toward the center and then folding again, like a book. It multiplies layers faster, but it also doubles the risk of trapping air pockets and uneven butter. Many bakers use two double turns plus one single turn for croissants — plenty of lift without pushing the dough to its limit.
Whatever combination you choose, chill for 30 to 45 minutes between turns. This is not optional downtime. The cold re-firms the butter so it can survive the next roll, and it relaxes the gluten so the dough stops fighting you.
Rest, Chill, Repeat
Resting does two jobs. First, it keeps the butter solid. Second, it allows the gluten network to relax after the stretching of a roll, which means the next roll goes further with less effort. Rushed lamination always shows up in the bake: uneven rise, butter leaking out during baking, or a pastry that is tough instead of tender.
Wrap the dough well during rests. An unwrapped dough dries at the surface, forms a skin, and that skin cracks along the edges when you roll it. If you are working in a dry kitchen, a light mist of water on the dough before wrapping helps.
Reading the Dough: Signs to Stop
Learn to watch for the warnings. Patchy, translucent spots on the surface mean the butter is thinning. A greasy sheen means it is warming. The dough shrinking back after you release the pin means the gluten is tight and needs a rest. Rough, torn edges mean the butter is too cold or the pressure is too heavy.
When butter breaks through, dust the spot lightly with flour, press a patch of dough over it if needed, and chill before continuing. Small repairs are normal. Ignoring them is how a flaky pastry turns into a bready one.
Troubleshooting by Symptom
- Butter leaking out during baking: the layers were too warm, or the seams were not sealed.
- Little or no lift: the butter smeared into the dough during rolling, or the dough was too warm throughout.
- Uneven rise: the butter block was uneven in thickness.
- Tough, chewy texture: too much flour, too much working, or insufficient resting.
- Dough tearing while rolling: butter too cold, dough too cold, or too much force.
Baking for Steam
Lamination builds potential; the oven releases it. Bake hot enough to turn the butter's water into steam quickly, before the structure sets. For most croissant-style doughs, that means starting around 400°F (200°C), then lowering the temperature after the first ten to twelve minutes to finish the bake and dry the interior.
Egg wash gives color and shine. Apply it gently, and only on the surface — a wash that runs down the cut edges glues the layers together and prevents them from opening.
A Practice Project Without a Sheeter
If you are new to hand lamination, begin with rough puff. It is faster, more forgiving, and teaches the same lesson about cold butter and even rolling. Cut cold butter into your flour in large, visible chunks, add just enough ice water to bring the dough together, then give it two or three single turns with rests in between. Chill thoroughly and bake. You will see distinct, blistered layers without a single piece of equipment.
Once rough puff feels natural, move to croissant dough and add turns gradually. Skill here is repetition, not talent. A rolling pin and a cold refrigerator will do the work of a sheeter — as long as you let them.
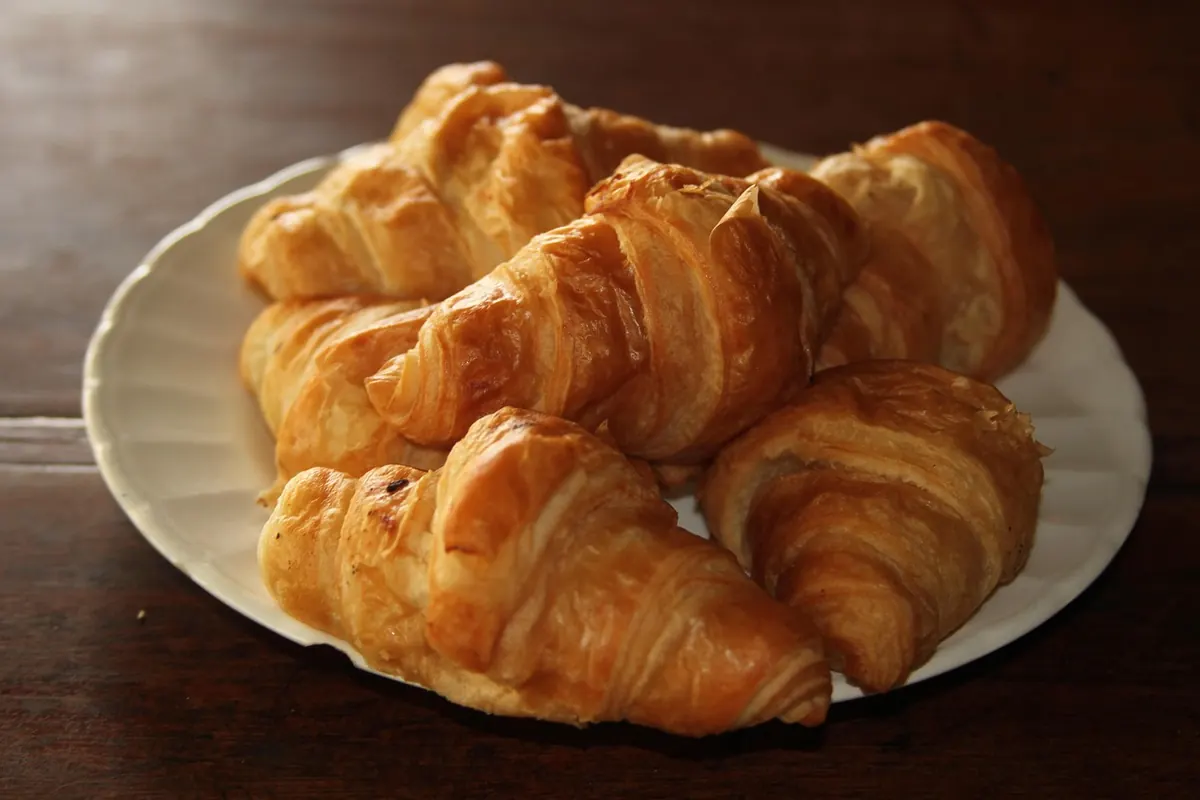
Photo: YosoyArley / Pixabay
Related posts
More stories you’ll love reading