
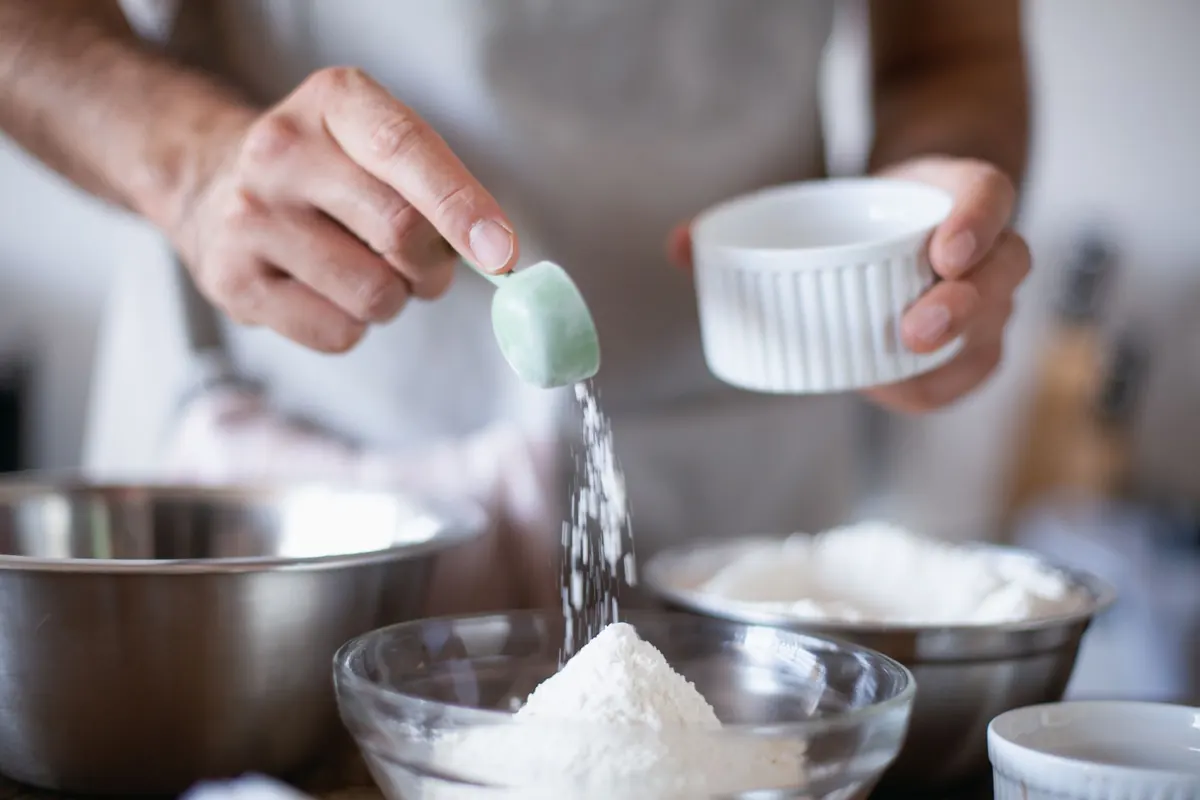
Flour is the quiet variable in most bakes. You can follow a formula precisely, knead with care, and still end up with a dough that feels slack, stiff, or tired. The flour may be past its best, milled more coarsely than expected, or simply stronger than the recipe assumed. Before you reach for the scale, spend a few minutes evaluating what is in the bag. It is the kind of small preparation that saves a morning’s work.
Read the Label Like a Baker, Not a Shopper
Start with the information the mill has already given you. Look for the milling date first, if it is printed. A “best before” date is useful, but a milling date tells you more about freshness. Flour is not wine; it does not improve with age. If the bag only carries a best-before date, buy from a shop with steady turnover and avoid sacks that have been sitting in warm sunlight or beside strong-smelling goods.
Note the flour type and what it is meant to do. In Italy, Type 00 is finely sifted, while Type 1, Type 2, and whole wheat carry progressively more bran and germ. Type 00 is not automatically better; it is a milling classification. A pastry flour, a bread flour, and a stone-ground whole wheat will each ask for different handling. If the bag lists protein, ash content, or a W value, read those figures as clues rather than guarantees. Italian mills often print W to describe dough strength for fermentation; a higher W generally suits longer rises, but the baker still has to judge the flour in the bowl.
Use Your Senses to Check Freshness
Open the bag and smell it. Fresh flour has a faint, clean, wheaty scent, something like raw grain and dry paper. Old flour smells flat or dusty. Musty, sour, paint-like, or damp-basement odors are a stop sign. Do not try to bake past a bad smell with extra yeast or a longer proof; the flavor will follow the flour.
Look at the color and texture. White flour should be consistent, without dark patches or hard clumps. Whole wheat will show flecks of bran, which is normal, but the color should still look even. Clumping can mean humidity rather than spoilage, especially in a bag that has been opened and closed many times. Break a clump apart and smell it. If it is hard, discolored, or has an off-note, discard it.
A small taste is another useful check. Take a pinch and let it sit on your tongue. It should taste mild and slightly sweet, not bitter, soapy, or sharply sour. A bitter back note is more common in whole-grain flours, where the oils in the germ can turn rancid. If the taste is unpleasant, the flour is not worth the butter and eggs you are about to spend on it.
Look at Protein, Then Ask What Kind of Strength It Brings
Protein percentage is a helpful starting point, not a verdict. As a rough guide, pastry flours sit lower, all-purpose flours around the middle, and bread flours higher, often in the low teens. But two flours with the same protein number can behave differently. Wheat variety, growing conditions, milling, and the condition of the gluten all matter. A flour labeled “strong” may have good elasticity for a long fermentation, while another with a similar number may feel soft and compromise quickly.
Ask what you want the flour to do. A rustic sourdough with a long bulk fermentation needs a flour that can hold gas and stay coherent. A tender cake or shortbread wants low strength and a fine texture. If you are blending flours, treat the blend as its own ingredient and judge it after mixing, not only on paper.
A Quick Note on Ash and Extraction
Ash content indicates mineral content and, roughly, how much of the grain was retained. Higher-ash flours usually carry more bran and germ, which brings flavor and water absorption but also a shorter shelf life. Whole-grain flours are the clearest example. They are wonderful in a blend, but they are not the flour to buy in a large sack and leave in a warm cupboard for a year.
Feel the Milling Texture Between Your Fingers
Rub a pinch of flour between your thumb and fingers. A fine pastry flour should feel like soft powder. Bread flour may feel slightly granular but still smooth overall. Whole wheat will feel gritty, and stone-ground flours can vary from sandy to quite coarse. None of these textures is wrong, but they tell you how the flour will drink and how much patience it may need.
Sift a spoonful onto a dark plate. You are looking for even distribution, no foreign matter, and a sense of how the bran behaves. Very coarse bran can feel prickly and may need a soak or a blend with a finer flour. If a flour feels damp or leaves a sticky film on your fingers, check the storage conditions before using it in a delicate dough.
Run a Small Absorption and Behavior Test
Absorption is where flour stops being a label and starts being a dough. Two bags of the same type can take different amounts of water depending on age, moisture, and milling. A small test before the full mix is rarely wasted.
- Weigh 100 g of the flour into a bowl and note the type and date.
- Add 60 g of room-temperature water and mix with a spoon until shaggy.
- Cover and rest for 20 minutes. This gives the flour time to hydrate.
- Add water in 5 g increments, mixing gently, until the dough feels cohesive and supple but still slightly tacky.
- Record how much water it took and how the dough feels. Compare it with a flour you know well.
For a behavior check, mix 50 g of flour, about 35 g of water, and a pinch of instant yeast. Cover and leave it at room temperature for two hours. Look for signs of gas, a smoother surface, and some elasticity. A weak or old flour may stay flat and pasty. This is not a laboratory test; it is a baker’s clue. If the flour feels much thirstier or weaker than expected, adjust the formula before you commit the whole batch.
Store Flour So Your Checklist Still Means Something
Good flour can decline quickly in a warm, humid kitchen. Keep it in an airtight container, away from direct light and heat. Label the container with the flour type and the date you opened it. Use the oldest flour first. Whole-grain flours deserve extra care because the germ oils can turn rancid; keep small quantities in the refrigerator or freezer if you bake only occasionally. Let frozen flour come to room temperature in its sealed container before using it, so condensation does not dampen the powder.
Keep flour away from onions, coffee, spices, and cleaning products. Flour picks up odors easily, and no loaf benefits from a hint of cupboard detergent. If you buy in large sacks, divide them into smaller airtight jars rather than opening the same bag every day.
A Five-Minute Check Before You Bake
Before the mixer starts, run through the essentials: smell the flour, taste a pinch, check the date and storage, confirm the protein and ash suit the bake, rub the texture between your fingers, and run a small absorption test if the flour is new or has been open for a while. If it fails on freshness, do not bake with it. If it is simply weaker or coarser than expected, choose a bake that suits it: a flatbread, a pancake batter, or a blend with a stronger flour. Good baking begins with listening to the flour before asking it to perform.
Photo: Los Muertos Crew / Pexels
Related posts
More stories you’ll love reading