
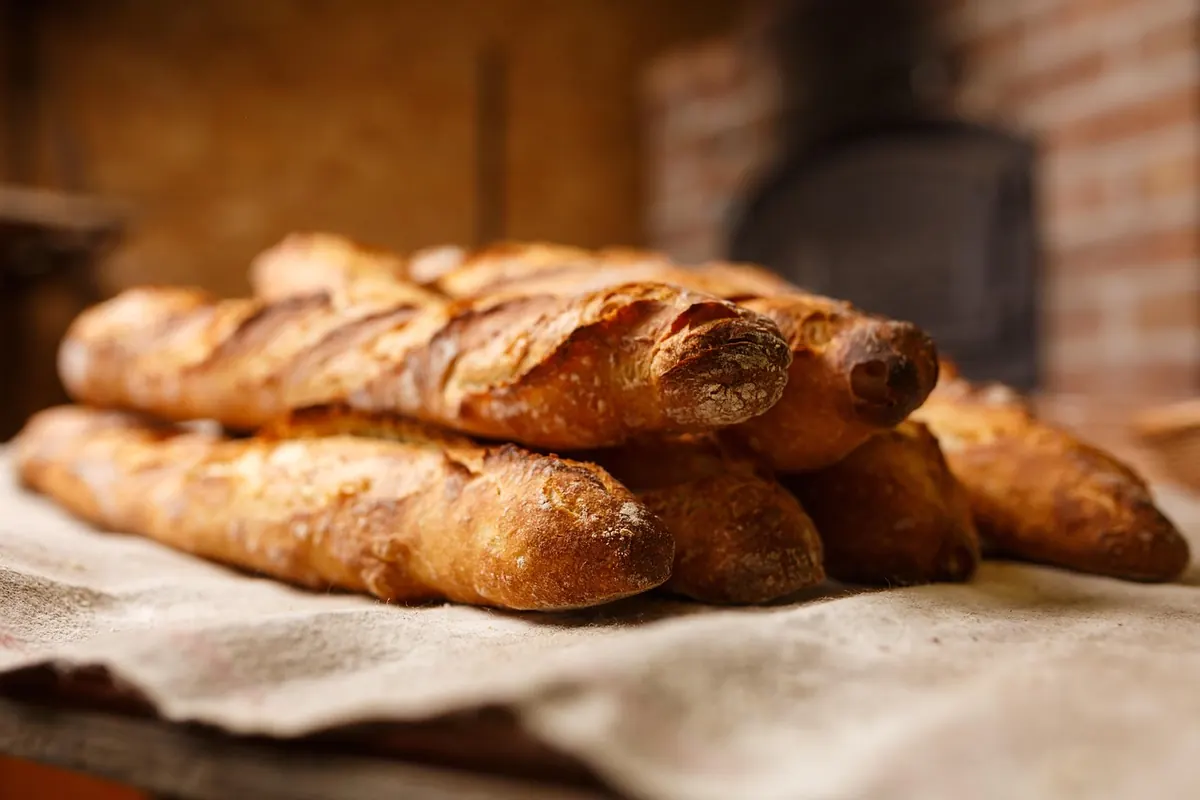
The first country loaf you bake will probably not be the loaf you pictured. It may spread instead of rise, or come out pale and dense, or taste faintly of nothing much. That is normal, and it is also useful, because a country loaf is one of the few things in a kitchen that teaches you what it needs while you are making it. Flour, water, salt, heat and time will do most of the work. Your job is to pay attention, keep notes, and bake again next week.
What follows is the version worth starting with: a lean dough, moderate hydration, a short ingredient list, and shaping you can learn in an afternoon. Nothing here requires a proofing box or a stone-milled heritage grain. A bowl, a scale, and a hot oven will take you a long way.
Start With Less Equipment Than You Think
Bakery supply shops are happy to sell you a bench scraper, a banneton, a lame, a dough whisk and a linen couche before you have baked a single loaf. Buy slowly. Most of that list improves your baking by a few percent; a digital scale improves it by a great deal, because country bread is a ratio game and cups of flour vary wildly depending on how you scoop.
Here is what genuinely earns its place on the counter:
- A digital scale reading in grams. This is the one non-negotiable.
- A large mixing bowl — 4 litres is comfortable for a single 800g loaf.
- A heavy lidded pot, cast iron or enamelled, or a lidded stoneware baker. It traps steam, which is what gives home ovens a chance.
- A bench scraper, cheap and endlessly useful for lifting, turning and cleaning the counter.
- A linen-lined bowl or a floured tea towel for the final rise.
- A sharp thin blade — a razor on a coffee stirrer works; so does a very sharp paring knife.
- A spray bottle for water, if your pot does not seal tightly.
Skip the proving drawer. A turned-off oven with the light on, or a shelf in a warm kitchen, does the same job.
Flour: Pick Two Bags and Learn Them
Country bread is not a flour-flexing exercise for a beginner. Choose a strong white bread flour with a protein content around 11–13 percent, and one bag of whole wheat or wholemeal flour. That is your whole pantry for now. The white flour gives structure and a light crumb; the whole wheat brings flavour, colour and a little extra fermentable food for the yeast.
A good starting blend is four parts white to one part whole wheat. Once you know how that behaves, you can push the whole wheat to a third, swap in spelt, or try a local stone-ground flour. Do it one change at a time, or you will not know which change mattered.
Store flour in a sealed container somewhere cool and dry, and write the purchase date on the lid. Whole grain flour goes stale faster than white because the oils in the germ turn rancid. If a bag smells dusty or faintly of old paint, it will taste that way in the loaf.
A Formula Worth Memorising
Write this on a card and stick it inside a cupboard door. It makes one loaf of roughly 800g, which is a sensible size for a household of two or three.
- 400g strong white bread flour
- 100g whole wheat flour
- 375g water, lukewarm
- 10g fine sea salt
- 100g ripe sourdough starter or 3g instant yeast
That is 75 percent hydration, which is soft enough to feel like bread dough and firm enough to shape without swearing. Mix the flours and water first and leave them for twenty minutes — the flour hydrates and the dough becomes noticeably easier to handle. Then add the salt and the starter or yeast and squeeze everything together until no dry patches remain.
If you are using instant yeast, your first rise will be quicker and the flavour milder. If you are using a starter, feed it the night before and use it when it has risen and smells pleasantly sour, not sharp or acetone-like.
Timing: Let the Dough Tell You
Recipes give timings because bakers need them, but dough does not read clocks. A dough at 22°C in a cool kitchen and a dough at 27°C near a radiator are doing different things at the same hour. Use the clock as a rough guide and your hands as the real instrument.
During the first rise
Every thirty minutes for the first two hours, wet your hand and fold the dough over itself four times, rotating the bowl a quarter turn each time. This builds strength without kneading. You will feel the dough go from a shaggy, slack mass to something smoother and more elastic — usually by the third or fourth fold.
Bulk fermentation is finished when the dough has grown by roughly half to two-thirds, looks domed and slightly jiggly, and shows small bubbles at the edges. Poke it gently with a floured finger: if the dent springs back slowly and incompletely, it is ready.
The cold retard
Shape the loaf, put it in its lined bowl, cover it, and refrigerate overnight — anywhere from eight to sixteen hours. This cold rest is where a lot of the flavour comes from, and it also makes the dough firmer and easier to score cold the next morning. Bake straight from the fridge; there is no need to let it come to room temperature.
Shaping Without Panic
Shaping is the step beginners fear most, and it is mostly about tension. You are not sculpting; you are pulling the surface of the dough tight so it holds its shape and opens neatly in the oven.
- Turn the dough out onto a lightly floured counter. Flour sparingly — too much and the dough slides instead of gripping.
- Pat it into a rough rectangle, then fold the left side to the middle, the right side over that, and the top and bottom in. You now have a squat parcel.
- Flip it seam-side down. Cup your hands around the far edge and drag the dough towards you across the counter, using the friction to tighten the surface. Repeat a few times, letting it rest if it resists.
- Lift it into a floured, linen-lined bowl, seam-side up. Pinch the seam closed.
If the dough sticks or tears, it needs a ten-minute rest, not more flour. A slightly tacky dough gives a better crust than a dry one.
Into the Oven
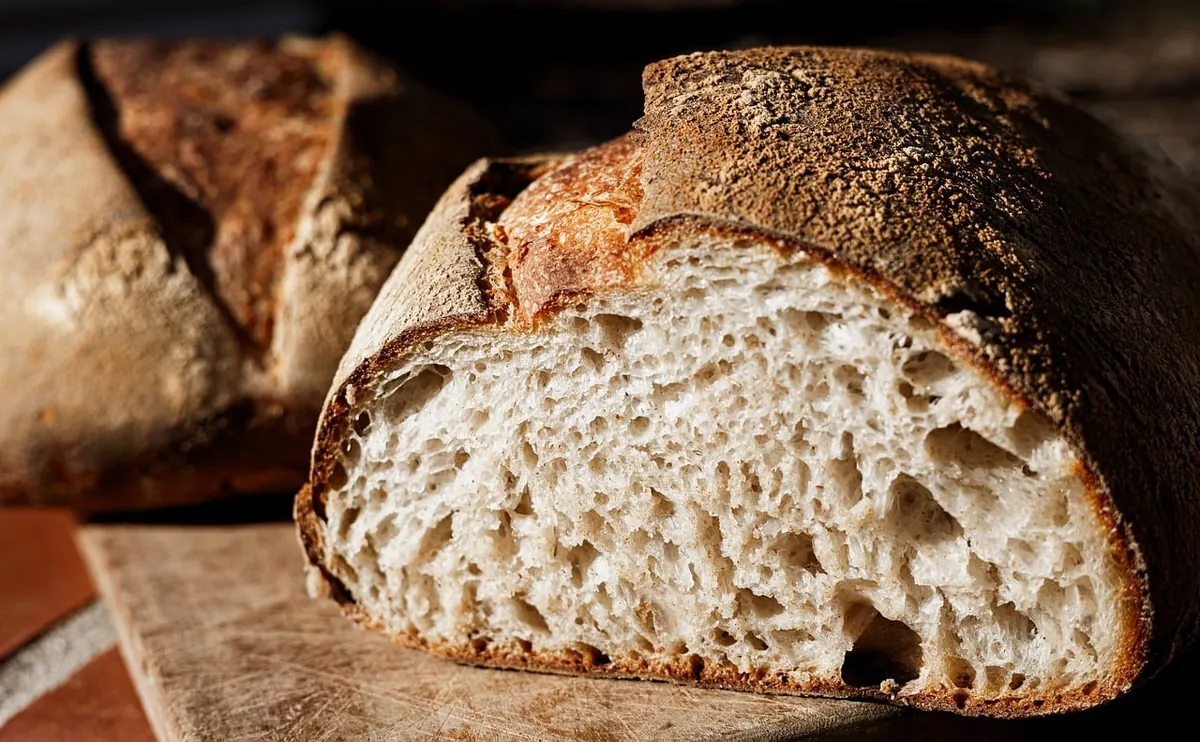
Heat the pot with the oven to 240°C (around 465°F) for at least forty minutes. Tip the cold loaf onto a piece of baking parchment, score it once down the middle or in a shallow cross, and lower it into the hot pot. Cover and bake for twenty minutes, then uncover and give it another twenty to twenty-five, until the crust is deeply browned and the loaf sounds hollow when tapped on the base. An instant-read thermometer in the centre should read around 96–99°C.
Then the hard part: wait. Cool the loaf on a rack for at least an hour before cutting. A hot loaf is still finishing its bake inside, and slicing early gives you a gummy crumb that has nothing to do with your technique.
The Second Loaf Is Where It Clicks
Keep a few notes after each bake: the room temperature, how long the first rise took, how the dough felt when you shaped it, and how the crumb looked. Those four lines are worth more than any recipe, because they describe your kitchen rather than someone else's. Change one thing next time — a little more water, a longer cold rest, a hotter oven — and compare.
Expect the second loaf to be better and the fifth to be genuinely good. Country bread rewards repetition more than precision, and the baker who has made ten slightly imperfect loaves understands more than the one who read ten books. Start with the formula above, keep the equipment simple, and let the dough teach you the rest.
Photo: Intuitivmedia / Pixabay
Related posts
More stories you’ll love reading