
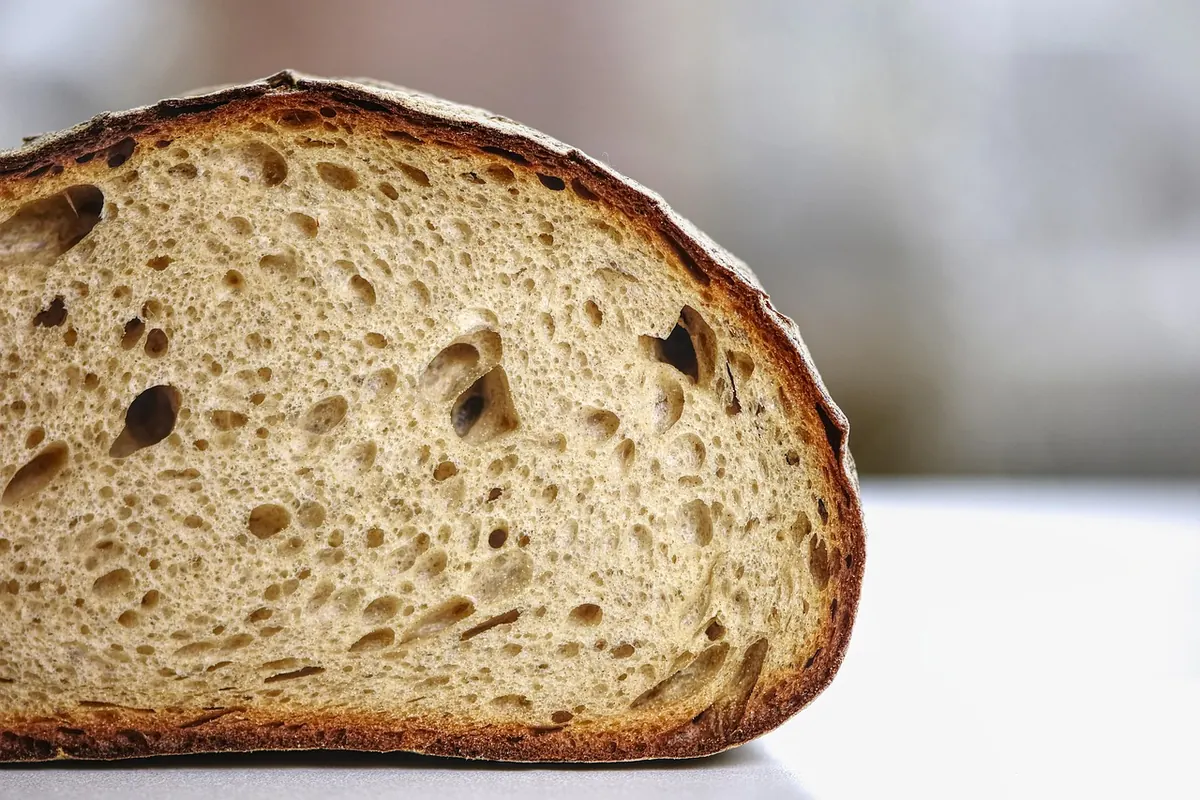
A bag of stone-ground Italian flour looks harmless: soft, faintly warm in colour, maybe a few freckles of bran catching the light. Then you mix it with water and a lively starter and discover it has opinions. It drinks more water than a supermarket tipo 0, ferments faster on a warm afternoon, and smells of wheat, yoghurt and hay. None of that is a problem. It simply means you bake by feel and by schedule rather than by a rigid clock — and the loaf you pull from the oven has a nutty depth that roller-milled flour rarely delivers.
Know What You Are Baking With
Stone mills turn slowly. The grain is ground between two stones rather than steel rollers, so the flour stays cooler and keeps more of its aroma, and the particles come out uneven — some fine, some gritty. That unevenness is useful: it gives the crust more texture and the crumb a creamier colour, but it also means the flour hydrates slowly and can feel stiff for the first half hour.
In Italy, the numbers on the bag — 00, 0, 1, 2, integrale — describe how much of the grain was sifted out, not how strong the flour is. For sourdough, stone-ground tipo 1 or tipo 2 is a good everyday choice: enough bran for flavour, enough white starch for an open crumb. Whole wheat (integrale) ferments noticeably faster and soaks up more water, so treat it as a seasoning rather than the whole base at first.
What to look for on the label
- Protein: around 12–13 g per 100 g gives you a dough with room to stretch. Softer flours make lovely loaves too, but expect a tighter crumb.
- Freshness: stone-ground whole flour keeps less well than white because the germ oils go stale. Buy in quantities you will use within a few months, store it airtight and cool, and freeze it if your kitchen runs warm.
- Grain: a spoonful of semola di grano duro rimacinata — fine durum flour — mixed in at 10–20% adds a golden tint and a pleasant chew. Keep some for dusting the banneton, too.
Feed the Starter Like You Mean It
A starter that smells sharply of acetone will not raise a good loaf, however strong your flour. Two days before baking, take it out of the fridge and feed it every twelve hours: one part starter, five parts water, five parts flour, kept at around 21°C. If it has been neglected, use a little of the same stone-ground flour in the feed — the extra minerals seem to wake it up.
By baking day the starter should be domed, webbed with bubbles and just past its peak, smelling sour-sweet rather than vinegary. It should double in roughly four to six hours at that temperature, faster if your kitchen is hot. The float test is a rough guide at best; the smell and the dome tell you more.
Build the levain the night before: 20 g starter, 80 g water, 80 g stone-ground flour. Cover it and leave it on the counter. In the morning it should be risen, bubbly and ready to go.
Mix, Rest, Then Add the Salt
Here is a reliable starting formula for one large loaf. It is deliberately moderate in hydration, because stone-ground flour needs a little coaxing before it will take more water.
- 400 g stone-ground tipo 1
- 100 g stone-ground whole wheat or tipo 0
- 340 g water at about 24°C
- 100 g ripe levain
- 10 g fine sea salt, dissolved in 20 g extra water
Stir the flours and the 340 g of water together until no dry patches remain, cover, and leave for 45 minutes. This rest — the autolyse — softens the bran and starts the gluten forming without any work from you. Then add the levain, squeeze it through the dough with wet hands, and rest another 30 minutes.
Now add the salted water and mix properly. Pinch, fold and slap the dough against the counter for two or three minutes, until it tightens and starts to look smooth. It will still feel rougher than a white-flour dough, and that is normal — bran behaves like tiny blades, interrupting the gluten strands as they form.
Bulk Fermentation and Folds
Keep the dough at 24–26°C if you can. At that temperature with 20% levain, bulk fermentation usually takes four to five hours in a warm kitchen and longer in winter. Judge the dough, not the clock.
- 30 minutes in: one set of stretch-and-folds in the bowl — reach under one side, lift, fold over the top. Turn the bowl and repeat four times.
- 60 and 90 minutes in: repeat, using slightly gentler folds as the dough gains strength.
- About 2.5 hours in: a final gentle set, or nothing at all if the dough already holds a domed shape.
You are looking for a 50–70% rise, a dome across the top, bubbles at the edges and a surface that jiggles when you shake the bowl. Whole-grain doughs look deceivingly flat even when they are ready — press a floured finger in and watch how slowly the dent fills back.
Shape, Then Let the Cold Do the Work
Turn the dough onto a lightly floured bench, preshape into a loose round and leave it for 25 minutes, covered. Then flour the top, flip it, and shape firmly: fold the far edge to the centre, bring the sides in, then roll the whole thing toward you and stitch the seam shut. Build tension without tearing. Place it seam-side up in a banneton dusted generously with semola and rice flour, bag it, and refrigerate for 8 to 16 hours.
Cold dough holds its shape, scores cleanly and develops a deeper flavour. Bake straight from the fridge.
Bake Hot, Bake Covered
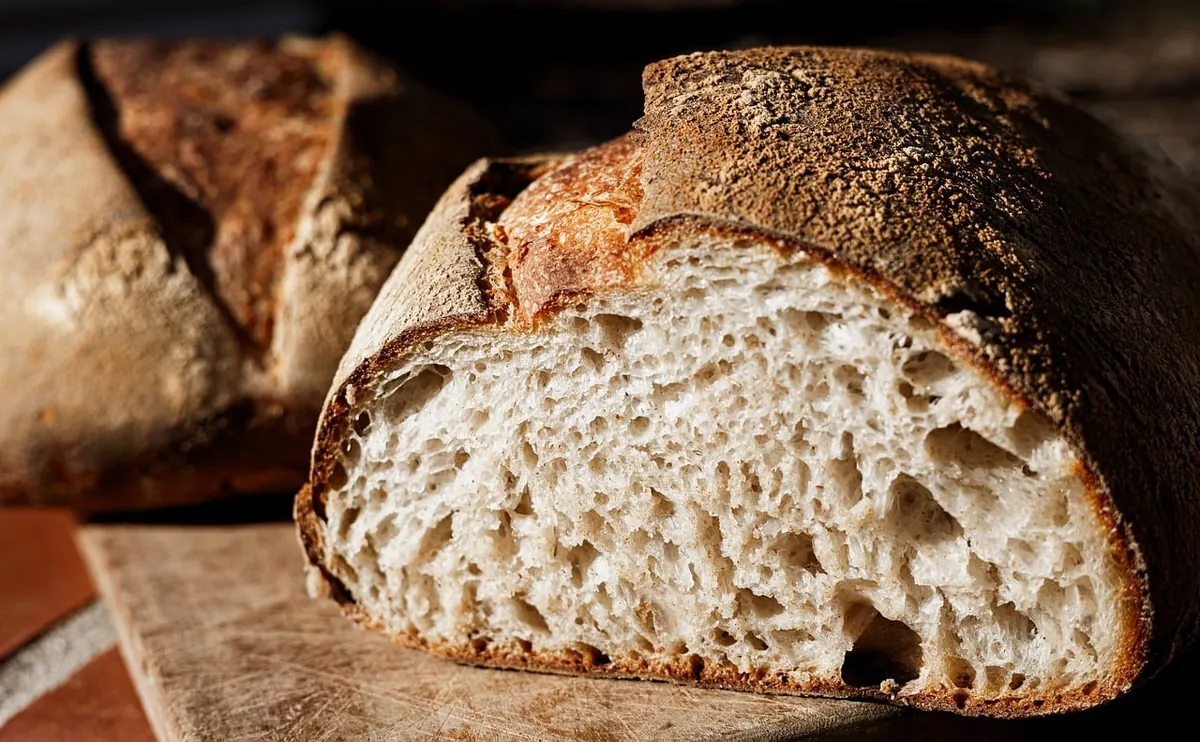
Heat a cast-iron pot with its lid at 250°C for at least 40 minutes. Turn the loaf out onto parchment, score it about a centimetre deep at a shallow angle, and lower it in. Bake covered for 20 minutes, then uncover, drop the oven to 230°C and give it another 20–25 minutes, until the crust is a deep chestnut and the base sounds hollow.
A probe thermometer is the surest test: the centre should read 96–98°C. If it is short of that, put the loaf back, uncovered, for five more minutes. Then let it cool completely — at least two hours — before cutting. A stone-ground loaf sliced warm tastes wonderful and looks like a disappointment.
Keep Notes, Not Rituals
Write down four things after each bake: the flour and its protein, the water, the room temperature, and the bulk time. Three lines are enough, and after a few bakes your own numbers will be more useful than anyone else's formula. Bake the same recipe three times before you change anything — hydration in particular — so you can tell what actually made the difference.
Expect a denser loaf than a white-flour showpiece, and a better one for toast, soup and olive oil. Slice it, freeze what you will not eat within two days, and keep the starter fed. The next bake starts before this loaf is finished.
Photo: Alexas_Fotos / Pixabay
Related posts
More stories you’ll love reading